Did you know that over 30% of modern vehicle sensor calibration issues stem from simple misalignment after routine maintenance? That dashboard warning light isn’t just an annoyance—it’s your car’s way of telling you an important safety system needs attention.
When the C110300 fault code appears, your vehicle’s adaptive cruise control sensor has become misadjusted. This sophisticated system relies on precise calibration to detect vehicles and obstacles ahead of you. Without proper alignment, your advanced safety features won’t function correctly.
This common error code often surfaces after front-end work like bumper removal, collision repairs, or even windshield replacement. Even minor disturbances to the sensor position can trigger this warning. Understanding what causes this issue helps you address it efficiently.
Our comprehensive guide walks you through diagnosing and resolving this problem. We’ll cover technical background, step-by-step calibration procedures, and practical tips from experienced owners. Whether you’re a DIY enthusiast or prefer professional help, this information will save you time and money.
Getting your adaptive cruise control working properly again ensures safer driving and restores your vehicle’s full functionality. Let’s explore how to tackle this sensor calibration challenge together.
Key Takeaways
- The C110300 code indicates a misadjusted adaptive cruise control sensor
- This error commonly occurs after front-end repairs or maintenance
- Proper sensor calibration is crucial for safety system functionality
- Diagnosing the issue correctly can save time and repair costs
- Both DIY and professional solutions are available for this problem
- Understanding the technical background helps with effective troubleshooting
Introduction to Adaptive Cruise Control and Sensor Error Codes
The evolution from traditional cruise control to adaptive systems represents one of the most significant safety advancements in recent automotive technology. These intelligent features help maintain safe following distances automatically, making highway driving more relaxed and secure for your car.
Overview of Adaptive Cruise Control Systems
Adaptive cruise control uses sophisticated radar technology to monitor traffic ahead. The system constantly calculates distances and relative speeds of other vehicles.
This radar sensor, typically mounted behind the front grille, sends out radio waves that bounce back from objects. The system processes this data to adjust your speed automatically. It works with your braking and throttle systems for seamless operation.
How Sensor Errors Impact Vehicle Performance
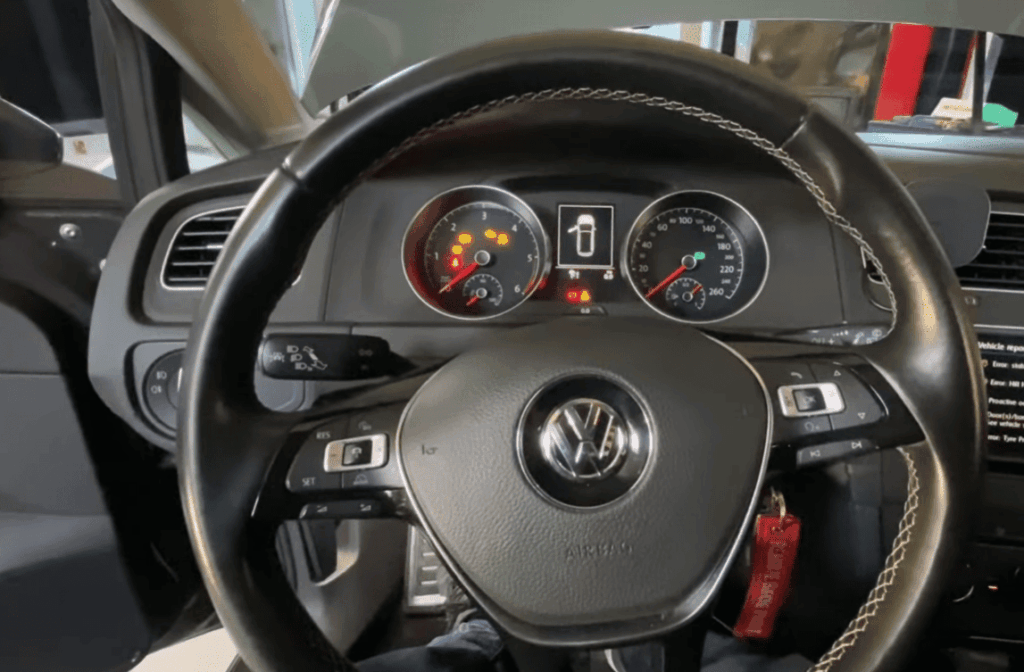
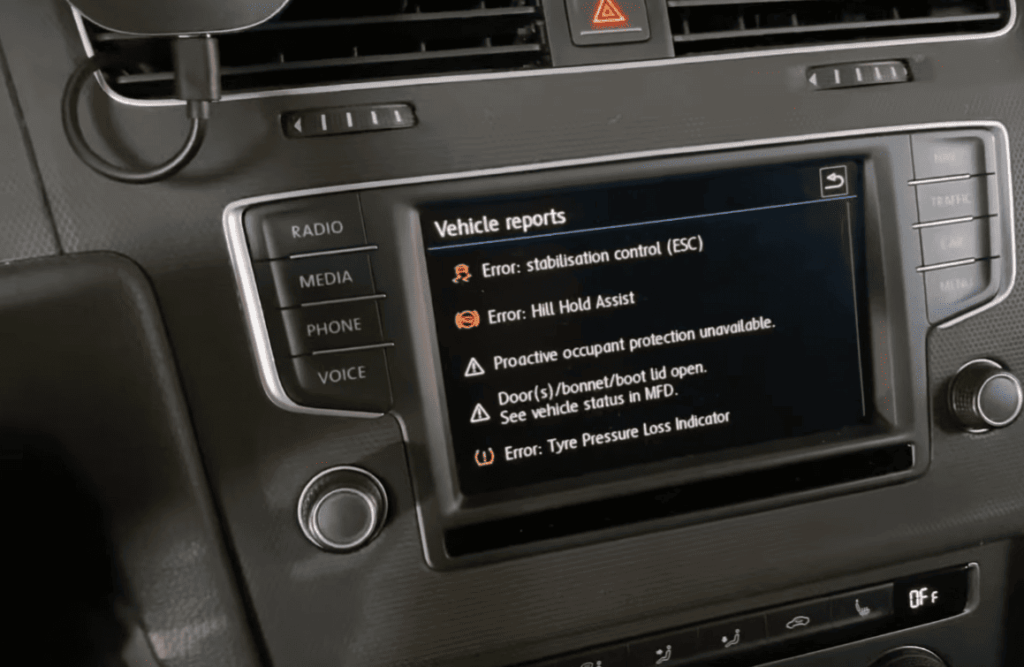
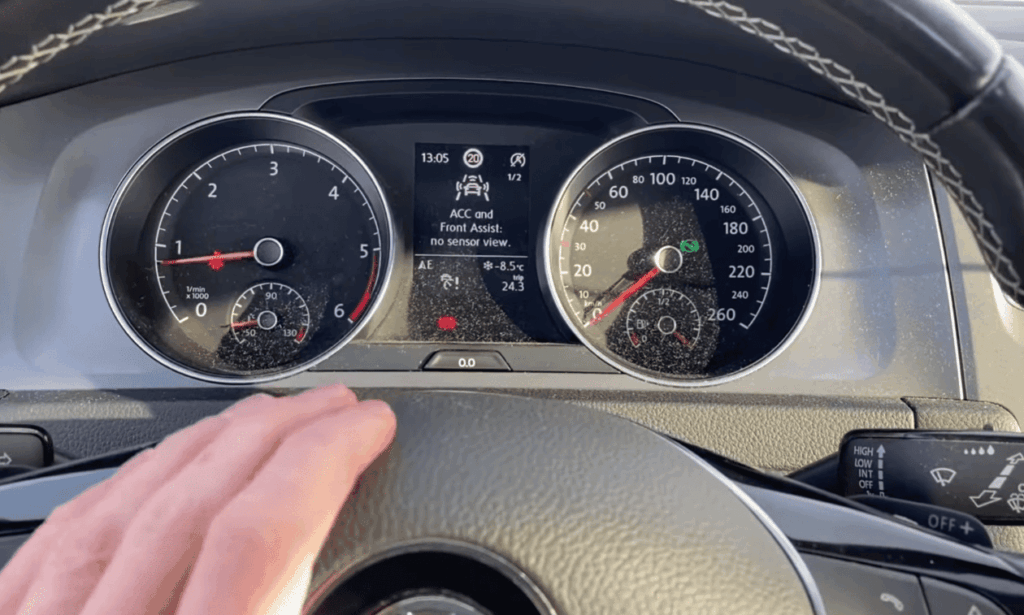
When sensor calibration problems occur, your vehicle’s safety features may shut down. The system detects misalignment and triggers error codes as a precaution.
These errors can disable cruise control and related safety functions. Addressing sensor issues promptly ensures your advanced driver assistance systems work correctly. Proper calibration is essential for accurate radar readings.
| Feature | Traditional Cruise Control | Adaptive Cruise Control |
|---|---|---|
| Speed Maintenance | Fixed speed only | Adjusts based on traffic |
| Sensor Technology | None | Radar-based sensor |
| Safety Integration | Limited | Works with braking system |
| Traffic Adaptation | Manual adjustment required | Automatic distance control |
Troubleshooting vw c110300 Calibration Issues
The journey to fixing sensor calibration problems begins with understanding why these sophisticated systems fail in the first place. When your adaptive cruise control stops working properly, it’s often due to physical changes that disrupt the radar sensor’s precise alignment.
Understanding Misadjustment and Common Causes
Misadjustment occurs when the radar sensor’s physical position changes even slightly. This causes it to point in the wrong direction. The system can no longer accurately detect road conditions ahead.
Common triggers include front-end work like bumper removal or collision repairs. Even minor impacts from parking curbs or rough terrain can cause alignment problems. Factory tolerances may also drift over time, requiring recalibration.
Simply clearing the fault code won’t solve the underlying issue. The error will return once the system performs its next self-check.
Dynamic vs. Static Calibration Methods
Understanding the difference between calibration approaches is crucial for successful troubleshooting. Each method serves specific situations and requirements.
Dynamic calibration involves driving the vehicle under controlled conditions. The system compares real-world data with expected values to self-adjust. This method typically takes 5-10 minutes on straight roads with moderate traffic.
Static calibration is performed with the vehicle stationary. It requires precise positioning relative to a calibration target. This method is used when driving conditions aren’t suitable for dynamic calibration.
| Calibration Method | Best For | Time Required | Setup Complexity |
|---|---|---|---|
| Dynamic Calibration | Good weather conditions | 5-10 minutes driving | Moderate |
| Static Calibration | Poor weather or restricted areas | 15-30 minutes setup | High precision required |
“Proper sensor alignment isn’t just about fixing an error code—it’s about restoring your vehicle’s critical safety features to full functionality.”
Failed calibration attempts often indicate improper setup or potential hardware issues. These situations typically require professional diagnosis to resolve completely.
Step-by-Step Guide to Calibrating the Adaptive Cruise Control Sensor
Ready to get your hands dirty? Let’s walk through the actual calibration process step by step. Proper preparation makes all the difference between success and frustration when working with advanced driver assistance systems.
Preparation: Tools, Environment, and VIN Identification
Before starting any calibration procedure, gather your diagnostic equipment compatible with ADAS systems. You’ll need a safe environment suitable for either static or dynamic methods.
Have your vehicle’s VIN information ready for automatic model identification. For static calibration, position your car exactly 1.2 meters from a flat wall. Ensure the bumper area is clean and properly assembled.
Detailed Calibration Process and Operational Tips
The process begins with automatic VIN recognition through the ADAS calibration entrance. Navigate to “ADAS System Selection,” then “13 Distance Regulation,” followed by “Guided Functions.”
Choose dynamic calibration whenever possible for more accurate real-world adjustment. During the drive, maintain steady speeds between 40-70 mph on straight roads. Avoid sudden acceleration or braking.
The system displays real-time progress, typically taking 5-10 minutes. It automatically notifies you when sufficient data is collected and sensor adjustment is finalized.
Verifying Successful Calibration and Clearing Fault Codes
After successful calibration, the system generates a detailed report. Save this documentation for your service records. Verification is critical—reread fault codes to confirm the error is cleared.
If calibration fails, check that the bumper is properly installed. Ensure the radar sensor area is clean and wheel alignment is within specifications. These factors affect successful calibration.
Real-World Experiences and Additional Tips for VW Owners
When DIY calibration attempts fail, understanding common pitfalls helps determine the best path forward. Real owner stories reveal what works and what doesn’t in practical situations.
Insights from Calibration Attempts and Dealer Experiences
Many owners discover that temporary fixes often lead to recurring issues. One Volkswagen driver shared their experience after bumper work:
“After painting my bumper, ACC errors appeared. I tried basic calibration against a wall, which cleared the fault temporarily. But after driving 2km, the error returned. Subsequent attempts showed ‘Cancelled due to malfunction.'”
This pattern suggests that professional equipment may be necessary for permanent resolution. Dealer experiences vary widely in cost and effectiveness.
Some owners report successful calibration for $150-$300, while others need multiple visits. Proper bumper installation and sensor mounting are critical first steps.
Tips for Maintaining Sensor Accuracy in Varying Conditions
Wheel alignment plays a crucial role in long-term sensor performance. When your car tracks straight, the radar aims correctly down your path.
Keep the front bumper area clean from mud, ice, or snow buildup. Avoid aftermarket accessories that might block the radar signal.
Address error messages promptly rather than ignoring them. Vehicle load changes can affect sensor angle, so be mindful of heavy cargo.
Regular maintenance and proper alignment help your adaptive cruise control system function reliably across different driving conditions.
Conclusion
Successfully addressing your vehicle’s sensor calibration issues marks the final step toward restoring your advanced safety systems. When your radar alignment is correct, all driver assistance features work together seamlessly.
The investment in proper adaptive cruise control calibration pays off through enhanced safety and reduced driving fatigue. Your ACC system and collision warning features depend on precise control to function effectively.
Regular maintenance prevents future error codes from appearing. Keep your front sensor area clean and address any warning messages promptly. This ensures your safety systems remain reliable for years to come.