Did you know a tiny paint chip can start causing rust on your vehicle in as little as 48 hours? That small spot is more than a cosmetic flaw. It’s an open door for damage.
Road debris, like gravel and stones, constantly hits your car. These impacts create chips in the protective layers of your paint. This exposes the bare metal underneath to moisture and air.
Automotive paint is a shield. It has several layers, including a clear coat and a primer. When a chip breaks through, the shield is compromised. Addressing these spots quickly is the key to preventing expensive repair bills later.
The good news is that managing this common issue is very achievable. This guide is here to help. We will walk you through simple do-it-yourself methods for minor damage. We’ll also explain when it’s best to call a professional for a repair.
You can restore your car‘s appearance and protect its value. Let’s get started.
Key Takeaways
- Small paint chips can lead to rust formation very quickly.
- Road debris is the primary cause of these imperfections.
- Automotive paint consists of multiple protective layers.
- Prompt action prevents minor damage from becoming a major problem.
- Many chip repairs are simple enough for a do-it-yourself approach.
- Some situations require the expertise of a professional.
Understanding the Causes of Chipped and Peeling Paint
The front-facing surfaces of your automobile bear the brunt of road hazards that lead to surface imperfections. Knowing why these issues occur helps you take proactive steps for protection.
Environmental Factors and Road Debris
Small stones and gravel become projectiles when kicked up by tires. Highway driving increases impact force significantly. This creates concentrated damage in the protective layers.
Certain areas face greater exposure. The bumper, hood, and lower doors receive most impacts. Their position makes them vulnerable to flying debris.
How Stone Chips and Weather Affect Your Car
Winter conditions amplify the problem. Salt-spreaders distribute grit across roads. This material gets flicked onto your vehicle’s surface.
Freeze-thaw cycles allow moisture penetration. Water seeps into tiny imperfections. This reaches the bare metal underneath, starting rust formation.
| Damage Cause | Common Locations | Prevention Tips |
|---|---|---|
| Road Debris | Front bumper, hood | Maintain safe following distance |
| Winter Salt/Grit | Lower panels, wheel wells | Regular washing during cold months |
| UV Exposure | Roof, horizontal surfaces | Park in shade, use protective wax |
| Environmental Contaminants | All exterior surfaces | Prompt cleaning of spills and droppings |
Understanding these causes empowers better vehicle care. Quick attention to small chips prevents expensive repairs later. Your automobile’s appearance and value stay protected.
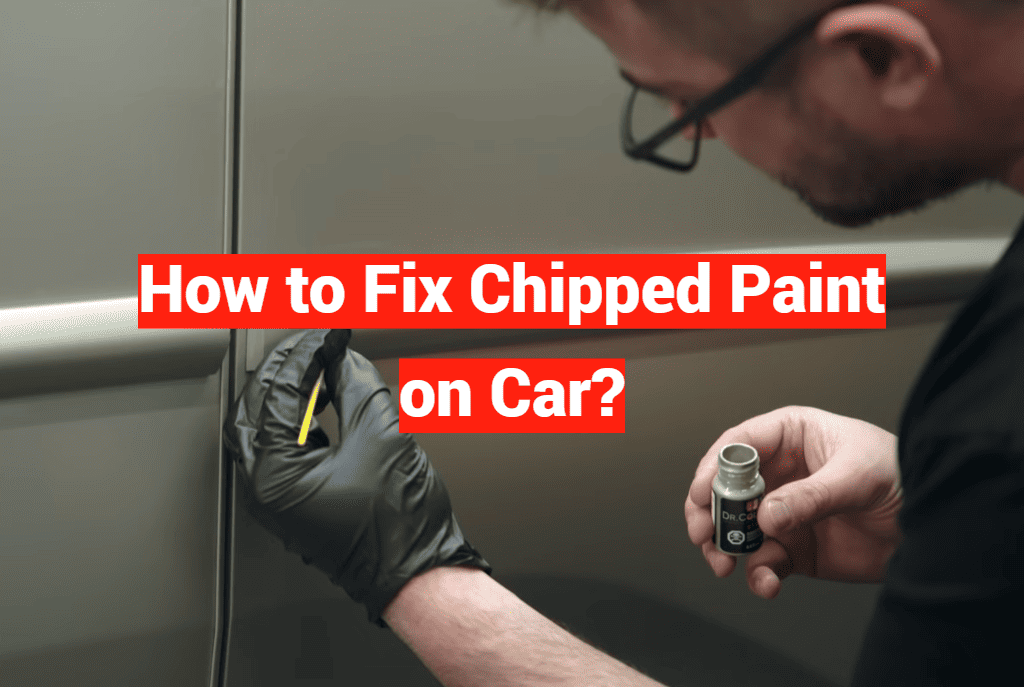
how to fix chipped paint on car: A Step-by-Step Process
Achieving professional-looking results for surface imperfections involves following a clear sequence of steps. Each stage builds upon the previous one, ensuring your vehicle’s finish restoration lasts.
Proper preparation prevents poor performance. This principle applies perfectly to automotive surface restoration work.
Preparing and Cleaning the Damaged Area
Begin by assessing the affected spot carefully. Determine if the damage exposes bare metal underneath. Small imperfections typically work well for do-it-yourself approaches.
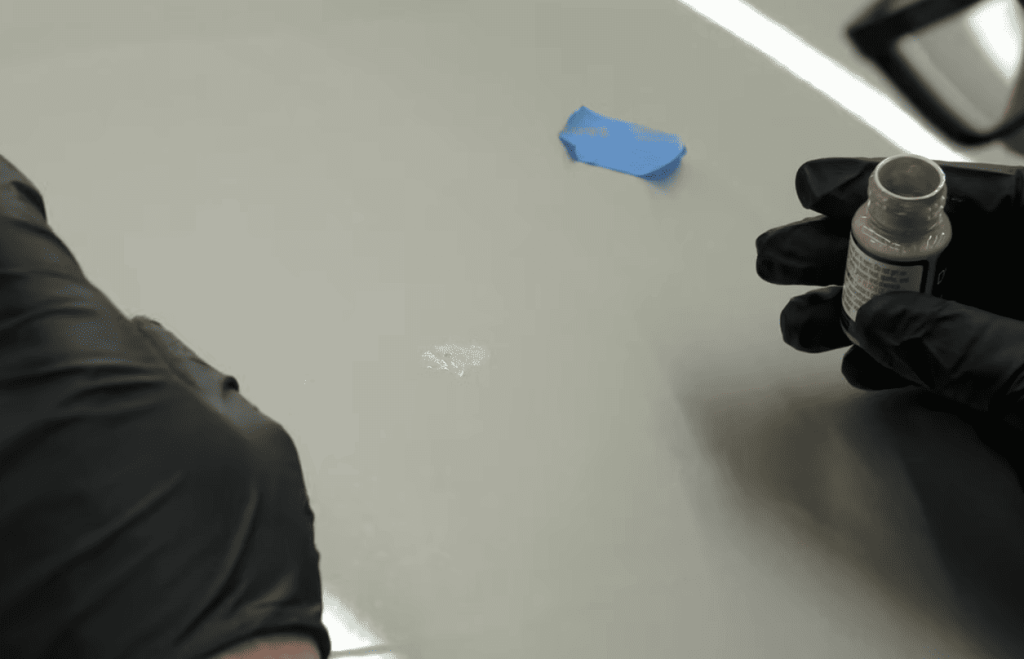
Thorough cleaning comes next. Use soap and water to remove dirt from the repair area. Follow with alcohol wipes to eliminate wax or grease residues.
Gentle sanding creates smooth edges around the imperfection. Fine-grit sandpaper helps new material blend seamlessly with existing layers.
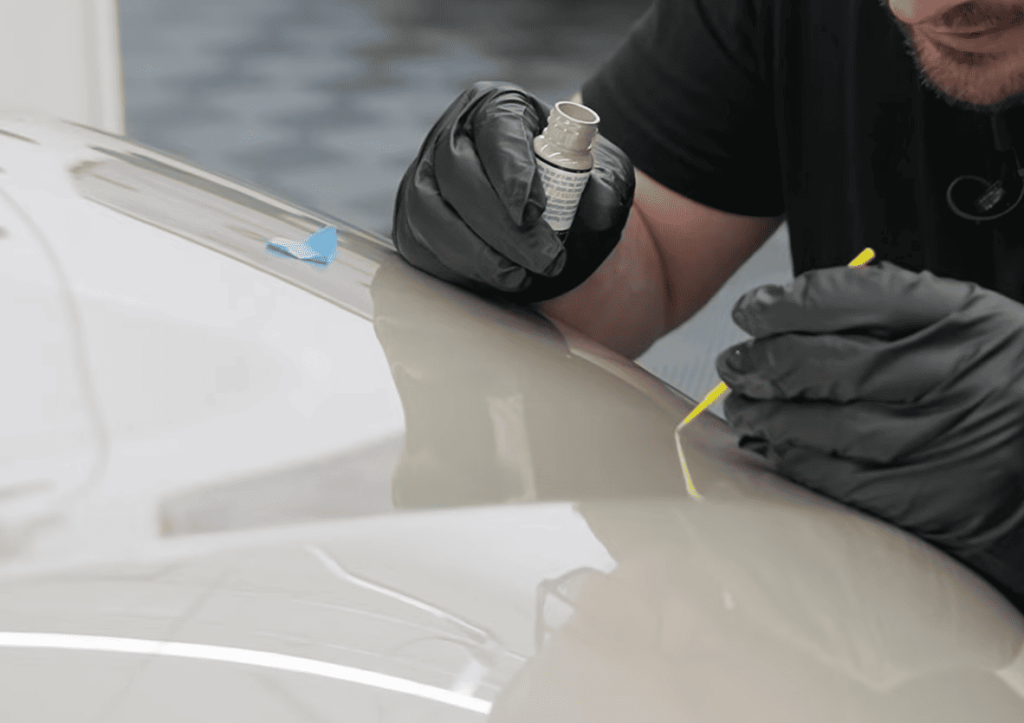
Applying Primer, Touch-Up Paint, and Protective Coatings
Apply primer when metal becomes visible. This foundational layer prevents rust formation and improves paint adhesion. Allow adequate drying time between applications.
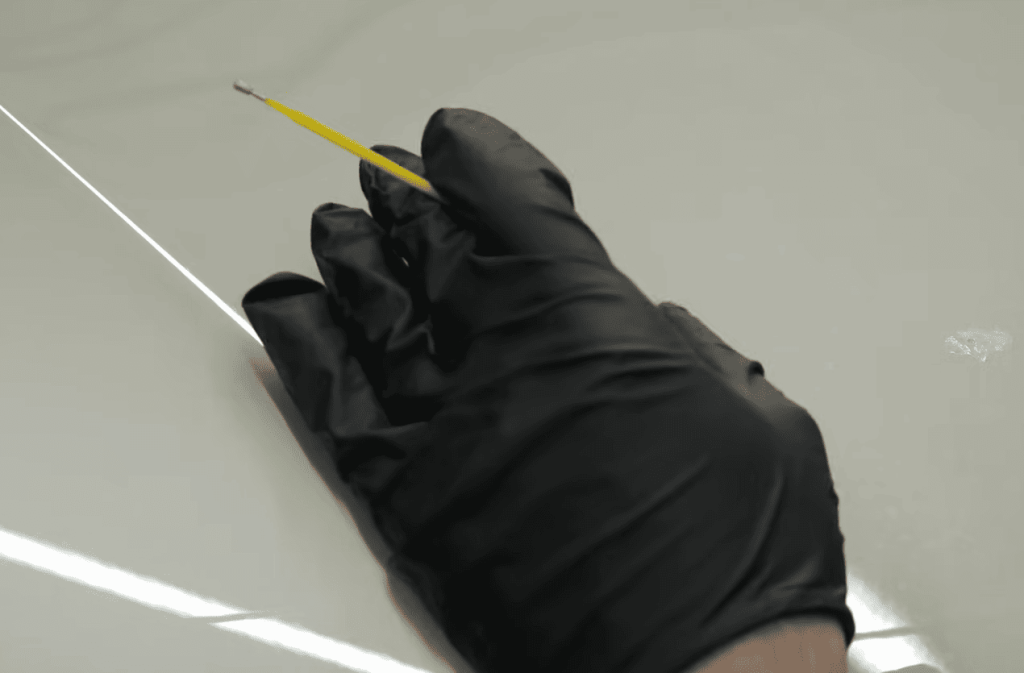
Matching your vehicle’s color precisely is crucial. Use the manufacturer’s code to find correct touch-up materials. Apply thin layers using a fine brush or specialized applicator tool.
Finish with clear coat protection. This transparent layer adds shine and shields against environmental elements. Final polishing and buffing create a smooth, integrated finish.
DIY Techniques Versus Professional Help
Many car owners face the decision of whether to handle paint imperfections themselves or seek expert automotive services. This choice depends on several factors including the extent of damage and your comfort level with automotive work.
Identifying When DIY is a Viable Option
Do-it-yourself approaches work well for minor surface issues. Small, shallow chips that haven’t reached bare metal are perfect candidates for home repair.
Affordable kit options typically cost $10-$50. They offer convenience and the satisfaction of personal vehicle maintenance. However, color matching can be challenging with limited-range products.
Benefits of Seeking Professional Repair Services
Professional help becomes essential when rust appears or multiple chips cover large areas. Paint cannot properly adhere to corroded metal.
Auto body shops use advanced color-matching technology. Their service ensures virtually invisible results. SMART repair techniques target specific damage areas efficiently.
While professional service costs more upfront, it prevents expensive panel replacement later. Experts have the tools and environment for superior, lasting repair outcomes.
Advanced Repair Tips and Maintenance Advice
Taking your vehicle’s paint repair skills to the next level requires mastering a few advanced techniques. These professional methods help achieve seamless results that protect your investment long-term.
Techniques for Sanding, Polishing, and Blending
Wet sanding transforms rough repair areas. Soak fine-grit sandpaper in water for fifteen minutes before use. Keep the surface wet while working in small sections with light strokes.
This method smooths sharp edges around paint chips beautifully. It creates the perfect foundation for new layers to adhere. Always follow with a mild polish and careful buffing for that factory finish.
Proper blending makes repairs virtually invisible. Feather the edges gradually into surrounding car paint. This technique requires patience but delivers professional-quality results.
Using Repair Kits and Specialized Tools Effectively
Quality repair kits make all the difference. Look for systems that include multiple applicator types. Precision brushes help control paint application in tight spots.
Specialized tools elevate your work. Consider investing in a good quality clear coat applicator. These simple additions can dramatically improve your final outcome.
Preventive care is equally important. Paint protection film applied to vulnerable areas offers excellent defense. More affordable options like quality wax create sacrificial layers that absorb minor impacts.
Regular maintenance with proper products keeps your vehicle looking sharp. These advanced tips ensure your car paint stays protected for years to come.
Conclusion
A well-cared-for exterior not only looks great but preserves your car‘s structural integrity. Addressing those small imperfections promptly is your best defense against costly damage.
Whether you choose a do-it-yourself approach or professional service, quick action prevents minor issues from escalating. Proper technique and quality materials ensure lasting results that protect your investment.
Remember that regular maintenance and preventive care are just as important as the repair itself. Your vehicle‘s finish serves as its primary shield against environmental elements.
Now that you have these essential tips, take a moment to inspect your automobile. Gather supplies for minor touch-ups or contact a trusted auto body shop for expert help with more extensive work.