Did you know that over 60% of DIY vehicle graphic projects result in some form of paint damage? This startling statistic highlights why proper technique matters when dealing with adhesive graphics on your automobile.
Many vehicle owners face the challenge of updating their ride’s appearance or eliminating old stickers. The process seems straightforward, but hidden dangers await those who rush. Incorrect methods can leave behind stubborn residue or, worse, create permanent scratches on your finish.
This comprehensive guide shares professional techniques for eliminating vinyl graphics and bumper stickers safely. We focus on protecting your automobile’s surface while achieving clean results. The right approach balances effective graphic elimination with surface preservation.
You’ll discover everything from essential preparation to step-by-step processes used by experts. These methods work on various adhesive materials, including aged, brittle stickers that have been on your vehicle for years.
With our friendly, expert-backed guidance, anyone can achieve professional-quality outcomes. No expensive tools or prior experience required. This makes refreshing your vehicle’s look an accessible project for all skill levels.
Key Takeaways
- Proper preparation prevents paint damage during decal elimination
- Different adhesive types require specific removal techniques
- Heat application helps loosen stubborn graphics safely
- Residue cleanup is crucial for a professional finish
- Surface protection should be your top priority throughout the process
- Common household items can be effective removal tools
- Patience yields better results than rushed efforts
Essential Preparation and Tools
Before tackling any adhesive graphics, understanding your vehicle’s unique surface characteristics is essential. Different paint finishes and clear coats react differently to heat and chemicals. This knowledge prevents costly mistakes.
Understanding Surface Sensitivity and Risks
Assess your car’s surface carefully. Older, brittle decals need gentle approaches. Newer vinyl typically peels easier with proper heat application.
Clear coat thickness varies between vehicles. Aged surfaces may be more vulnerable. Always test small areas first with your chosen method.
Gathering Heat Sources, Adhesive Removers, and Plastic Scrapers
A hair dryer works perfectly for most applications. It provides controlled, gentle heat. A heat gun offers more power but requires careful handling.
Quality adhesive remover formulated for automotive finishes is crucial. General-purpose removers may contain harsh chemicals. These can strip clear coat or discolor paint.
Plastic scrapers are non-negotiable for safe decal elimination. They provide enough rigidity without gouging metal. Metal tools risk permanent scratches.
Your complete toolkit should include:
- Clean microfiber towels
- Bucket of soapy water for initial cleaning
- Plastic scraper or old credit card
- Your chosen heat source
- Automotive-safe adhesive remover
Clean the surface thoroughly with soapy water before starting. This prevents scratching during peeling. It also ensures better heat transfer to the adhesive.
Having all tools within arm’s reach makes the process smoother. Heat-softened adhesives need immediate attention. Proper preparation ensures professional results.
Step-by-Step Decal Removal Process
Once you’ve gathered your tools, the elimination process follows a logical sequence of steps. Each phase builds upon the previous one, ensuring your vehicle’s surface remains protected throughout.
Cleaning and Prepping the Area with Soapy Water
Begin by thoroughly washing the target area with soapy water. This initial cleaning removes dust and debris that could scratch your finish during the elimination process.
Use a microfiber cloth to gently scrub the surface. Dry the area completely so your heat source works effectively. A clean, dry surface lets you see exactly what you’re working with.
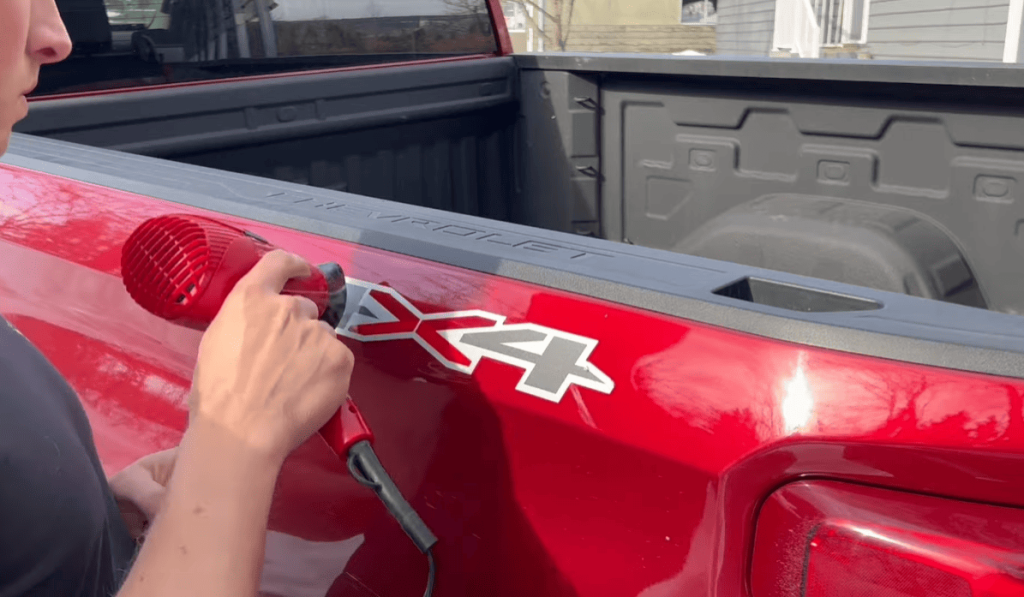
Applying Controlled Heat to Soften the Adhesive
Hold your heat source 3-6 inches from the decal surface. Move it in circular motions for 30-60 seconds. This gradual approach helps soften adhesive without overheating any single spot.
You’ll know the adhesive is ready when the decal feels warm and becomes flexible. This indicates the perfect time to begin lifting the graphic from your car.
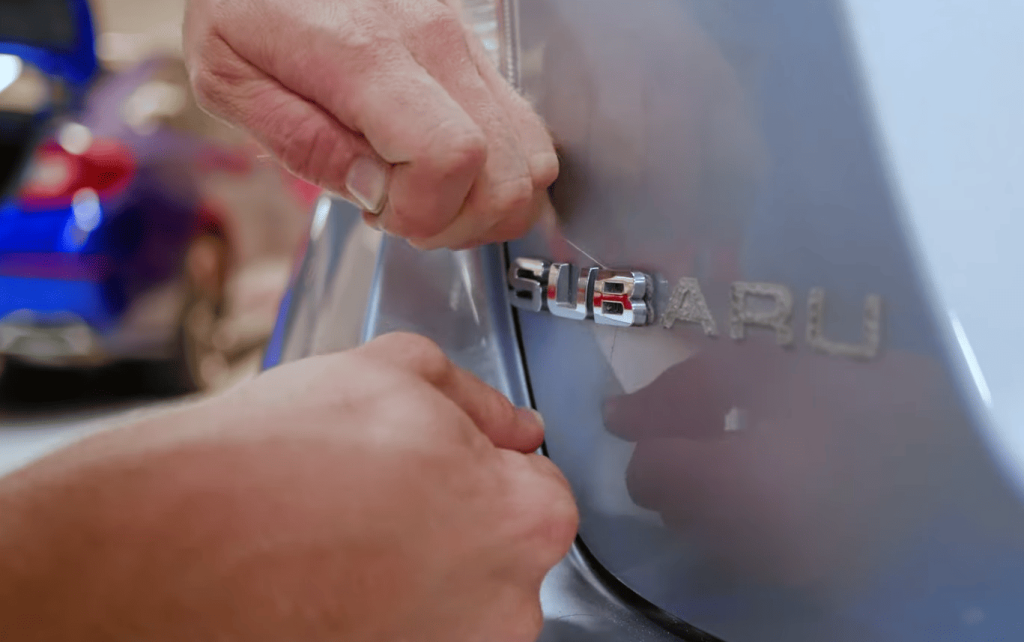
Gradually Lifting and Peeling the Decal
Locate a corner of the decal using your fingernail or plastic scraper. Work gently to get underneath without tearing the vinyl material.
Pull the decal back at a low angle using steady, even pressure. For larger decals, work in small sections and reapply heat as needed. This method ensures the adhesive stays soft throughout the removal process.
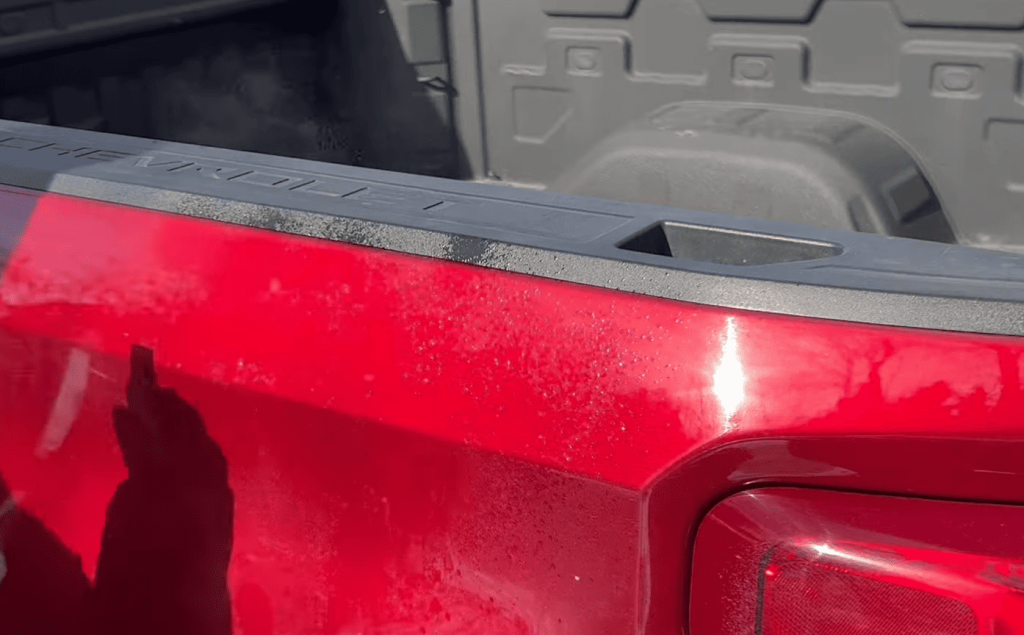
Handle any leftover residue with automotive-safe adhesive remover. Apply it briefly, then wipe the area clean with a soft cloth. Finish with another round of soapy water for a professional result.
How to Remove Decals From Car Without Damaging Your Vehicle
Keeping your automobile’s finish flawless during this process is simpler than many assume. The secret lies in controlled methods that prioritize surface safety over speed.
Using Low Heat and Gentle Techniques
Applying gentle warmth is your best defense against damaging paint. Start with your hair dryer’s lowest setting. Test a small corner first.
Keep the heat source moving constantly. This prevents hot spots that can soften clear coat or cause discoloration. Most vinyl graphics respond perfectly to moderate, consistent warmth.
When you feel resistance while peeling, stop immediately. Reapply heat instead of forcing the material. Forcing can tear the vinyl and risk pulling paint.
Working on cooler days or in shaded areas offers better control. Direct sunlight can accidentally overheat the surface.
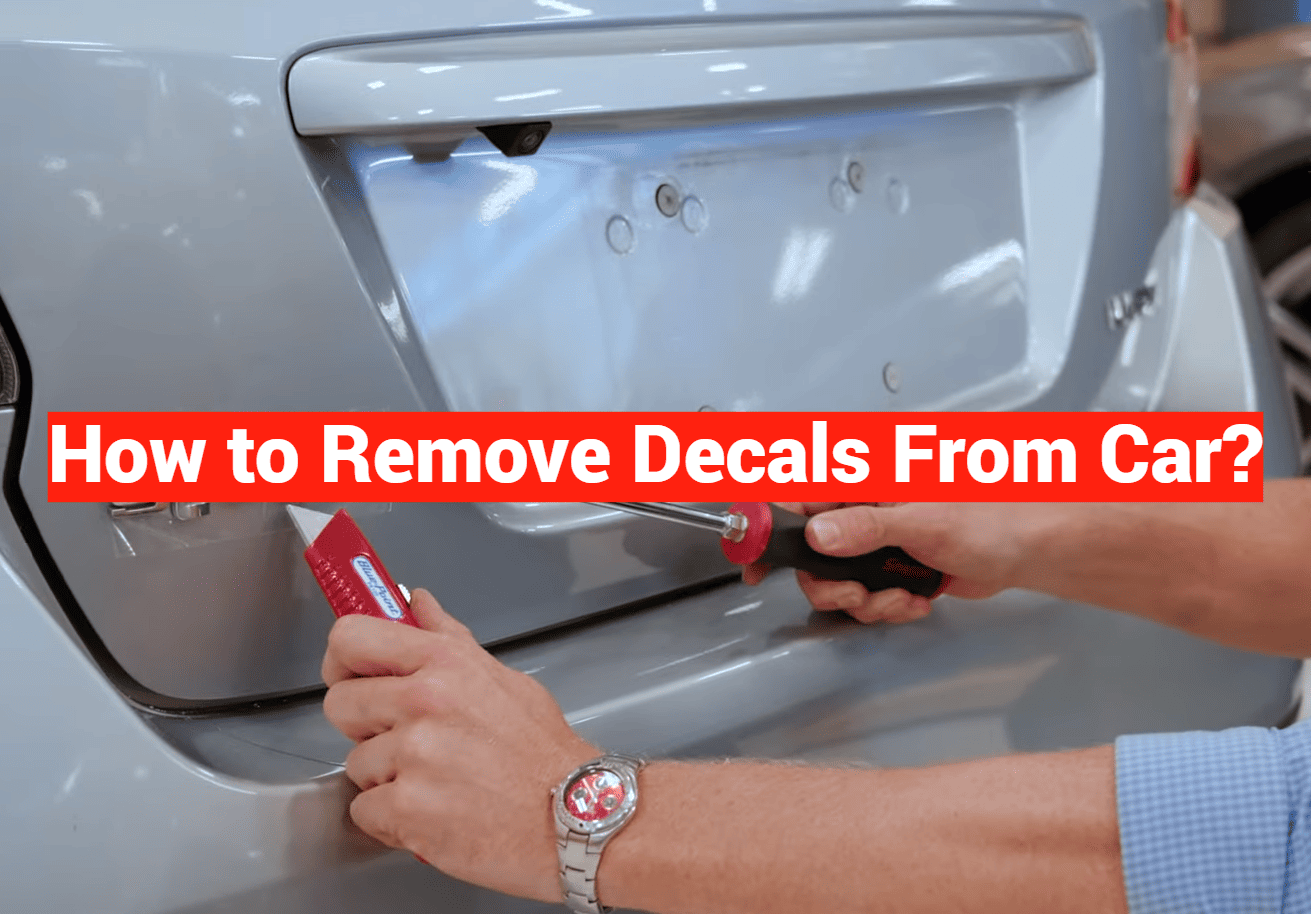
Protecting Your Paint with the Right Tools
Your tool selection directly impacts paint safety. Always use plastic scrapers or old credit cards. These flex against the surface without causing scratches.
Metal tools are a major risk for gouging and permanent damage. Plastic tools provide the needed rigidity while protecting your finish.
Test any adhesive remover on a hidden spot first. Ensure it won’t react negatively with your specific paint formula. This simple step prevents costly mistakes.
Taking extra minutes with these gentle techniques is always worthwhile. Repairing paint damage costs far more than a careful, patient approach.
Surface-Specific Techniques for Decal Removal
The material you’re working on dramatically influences your approach to graphic elimination. Different surfaces have unique sensitivities that require customized strategies.
Understanding these differences prevents damage and ensures clean results. Your automobile’s finish demands different care than glass or metal surfaces.
Strategies for Vehicles, Walls, and Floor Graphics
Automotive paint needs gentle heat and plastic tools. Glass windows tolerate stronger chemicals like acetone safely.
Metal trim may handle more aggressive techniques. Always test methods on small, hidden areas first.
This precaution protects your investment from accidental damage.
Adjusting Methods Based on Material and Adhesives
Permanent adhesives require more heat and stronger removers. Removable vinyl typically peels cleanly with minimal effort.
Your approach should match the adhesive type and surface material. This ensures efficient elimination without compromising the underlying surface.
Choosing Commercial Versus DIY Adhesive Removers
Commercial removers work best for aged graphics and heavy residue. DIY solutions suit newer, smaller applications.
Always verify product labels for automotive safety. This prevents damage to clear coats and paint finishes.
| Surface Type | Heat Sensitivity | Chemical Tolerance | Recommended Tools |
|---|---|---|---|
| Automotive Paint | Low to Medium | Low (paint-safe only) | Plastic scrapers, hair dryer |
| Glass Windows | High | High (acetone safe) | Plastic tools, stronger solvents |
| Metal Surfaces | Medium to High | Medium | Plastic or metal tools (carefully) |
| Vinyl Wraps | Low | Very Low | Professional assistance recommended |
Each surface demands respect for its unique properties. Matching your technique to the material ensures successful graphic elimination.
DIY Techniques and Alternative Methods
Your kitchen and wallet hold surprising solutions for eliminating vehicle graphics. Many household items work effectively when professional products aren’t available.
These budget-friendly approaches can save money while delivering clean results. Always test methods on small, hidden areas first.
Utilizing Household Items like WD-40 and Credit Cards
The WD-40 method works well for aged stickers. Spray generously on the decal and let sit for 5-10 minutes.
This penetration softens stubborn adhesive. Gently peel from one corner while keeping the area wet.
An old credit card makes an excellent plastic scraper substitute. The rigid edge lifts corners without scratching paint.
For smaller graphics, try the hot water technique. Soak a towel in warm water and press against the sticker.
After several minutes, the adhesive softens for easy peeling. Work at a low angle for best results.
Tips for Tweaking Techniques on Delicate Surfaces
Acetone works powerfully but only on glass surfaces. Never use it on painted car panels.
This strong solvent strips finishes instantly. Ensure good ventilation when handling.
For stubborn residue left after initial removal, apply your chosen solution. Let it sit before gentle wiping.
Brittle, aged stickers may require multiple approaches. Combine methods for optimal outcomes.
Heat application followed by WD-40 often yields the cleanest finish. A credit card scrapes away final adhesive bits.

Conclusion
Achieving professional results with decal elimination is within reach for every vehicle owner. The key lies in proper preparation and gentle techniques.
Patience and the right tools make all the difference in protecting your automobile’s finish. Using plastic scrapers instead of metal tools prevents scratches. Controlled heat application safely softens adhesive without risking paint damage.
Remember that different surfaces require customized approaches. Your vehicle’s painted panels need different care than glass windows or metal trim. Always test methods on small areas first.
Even stubborn, aged stickers yield to proper techniques. Start with gentle heat and progress to adhesive remover only if needed. Thorough cleaning afterward ensures a pristine surface.
These methods work for everyone from beginners to experienced DIYers. Share these tips with fellow enthusiasts facing similar challenges. Your weekend project can transform your ride’s appearance safely.